Case Study: Sliding tutorial for Android by Cleveroad
Updated 16 Oct 2022
5 Min
7913 Views
Developers at Cleveroad are always busy: we have a lot of projects, innovative ideas, and developments. All this stuff requires a significant amount of time. In our company, we value the time. Both ours and customers. That's why we try to organize it in the most efficient way. And this desire is an excellent background for the emergence of new ideas and their implementation. It's the way the Sliding tutorial for Android appeared.
What is the Sliding tutorial for Android?
The Sliding tutorial for Android is a simple library for creating tutorials for any application on the Android platform. This library is created by developers of Cleveroad company. With it, your application tutorials may look like in Google's apps.
Before that, there were some libraries different from this. With the usage of them, it is possible to realize a color changing or sliding elements by one whole layer only. We set ourselves the task of creating a product that can contain all these features. And, of course, to make our contribution.
Two main tasks of our library:
From page to page the background color should gradually change. It means, that one color transformed into another with the gradient effect.
In turn, each element on the screen is moved in the intended direction and to the predetermined point. Developer sets as he wishes:
- the background color of each page;
- the initial order of elements;
- the direction to slide the element;
- shifting coefficient of elements.
The library is created using the parallax effect. It looks fresh and eye-catching. And it is quite new and fashionable. More and more modern sites and applications creators use this effect in their design. With it's use, website or application looks more attractive and interesting.
Parallax effect is a technique in which an image in the foreground is moving faster than the background image in the perspective. Thus, the 3D effect is attained.
This effect is achieved by applying of several layers of images. Each of the layers will move at different speeds when scrolling or sliding.
Stages of creating the library
The idea of developing the Sliding tutorial for Android has crossed our developers mind in the process of some application creation. It was decided to develop a library for the later usage in our applications.
After long discussions (the creative process, as you know:), we decided to create a tutorial like in Google's apps (documents). We couldn't find libraries like this, so we start developing it immediately. There were two big parts of our work:
1st step
We've started from creation the pattern of communication between components.
And here's how the working process looked like.
2nd step
Before starting developing components, we've chosen the background and icons for our example. And you create whatever you want suitable for your app.
3rd step
After determination and approval of the pattern of communication between the components, the team began to implement the logic of the project.
At this stage elements of the project were created and modified. Among them:
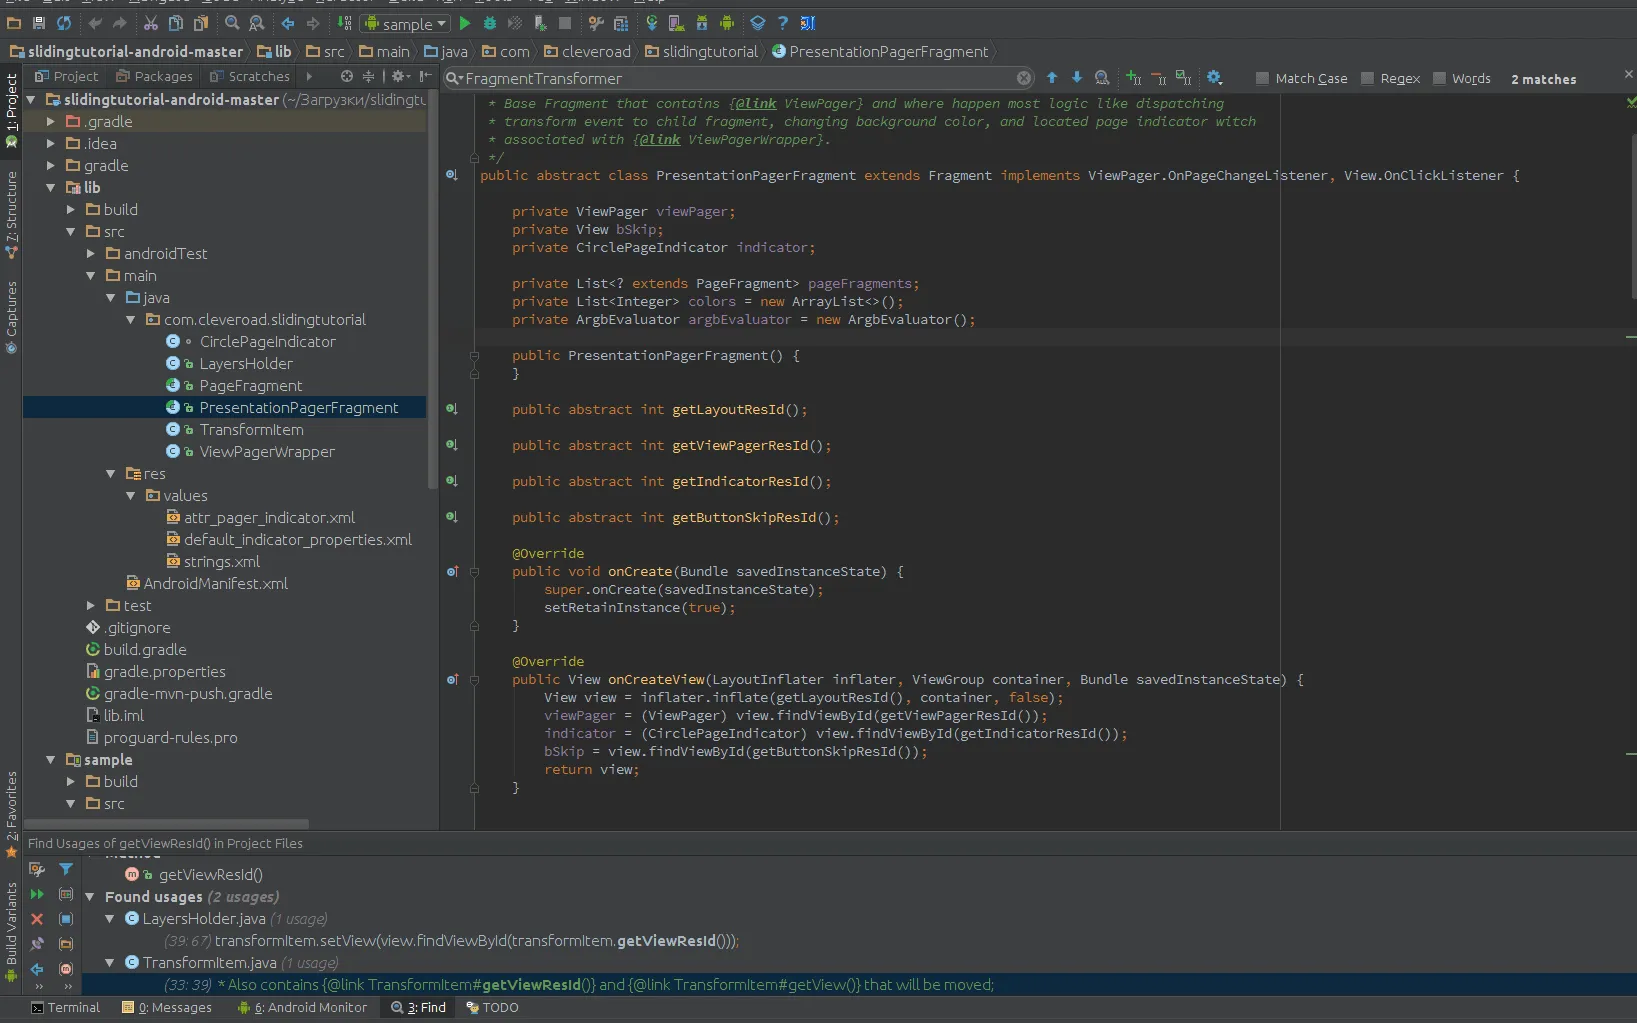
- PresentationPagerFragment. It's an abstract class that does most of the work. It contains the ViewPager wrapper. It changes the background color while processing page scrolling. And also, it forwards the transformPage event to predetermined fragments.
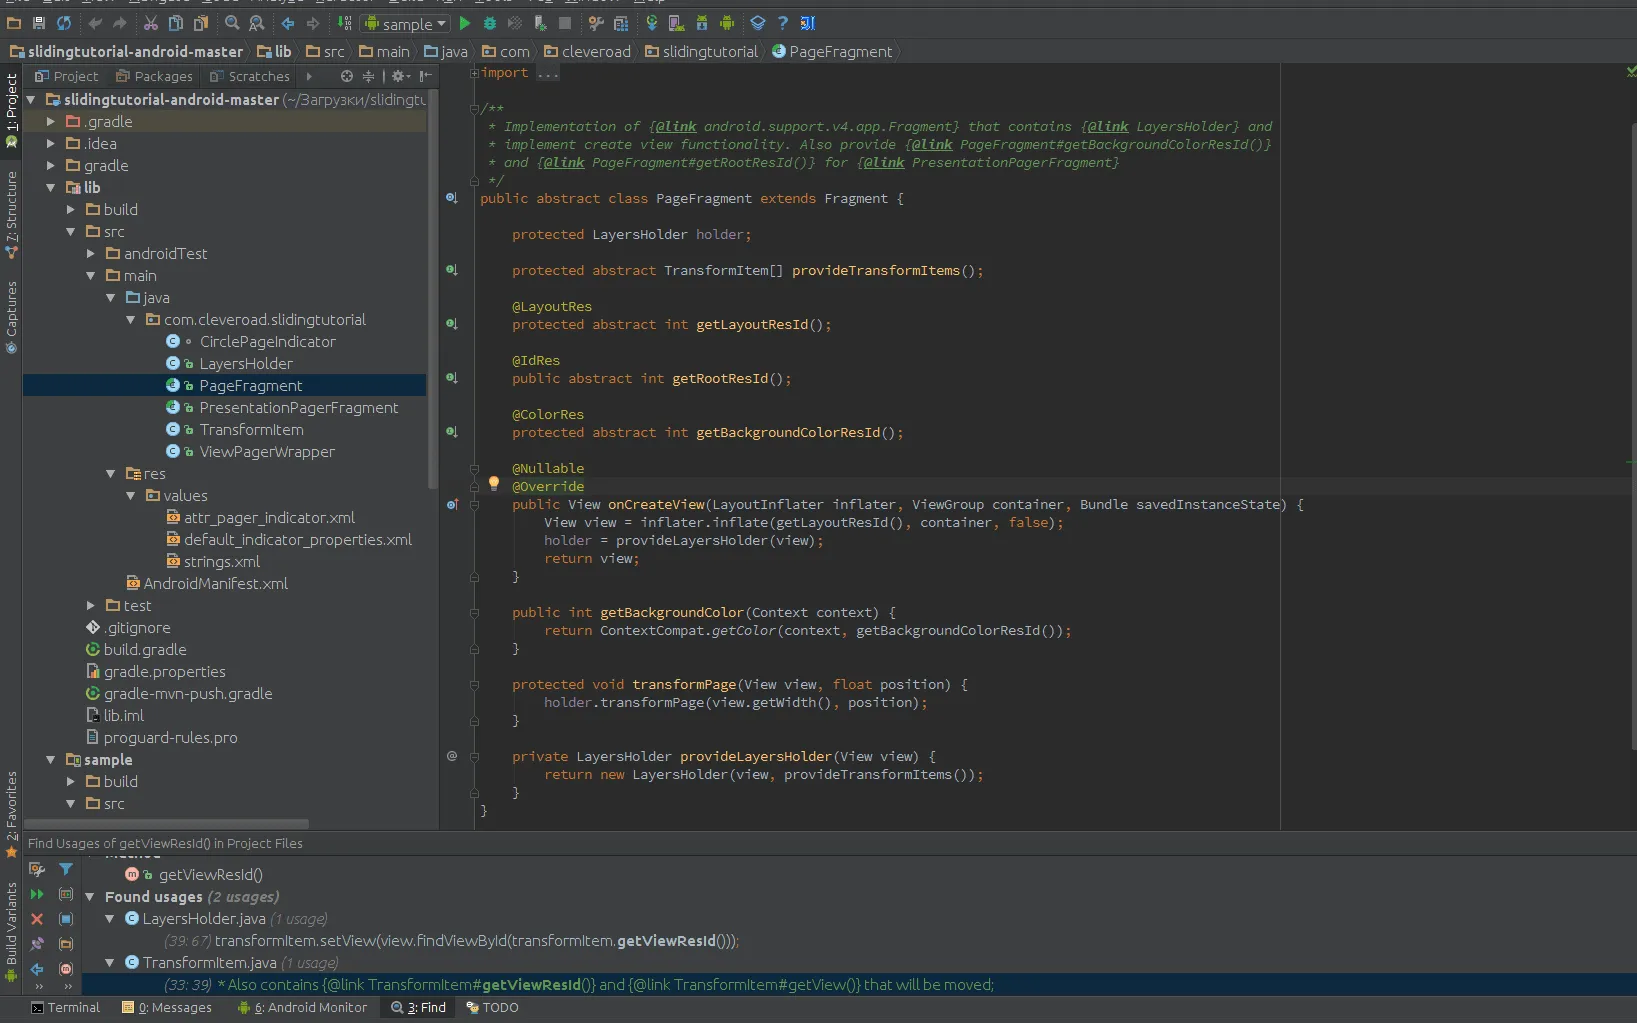
- PageFragment. The base class for fragments inside PresentationPagerFragment. It carries LayersHolder and forwards the transformPage event to LayersHolder.
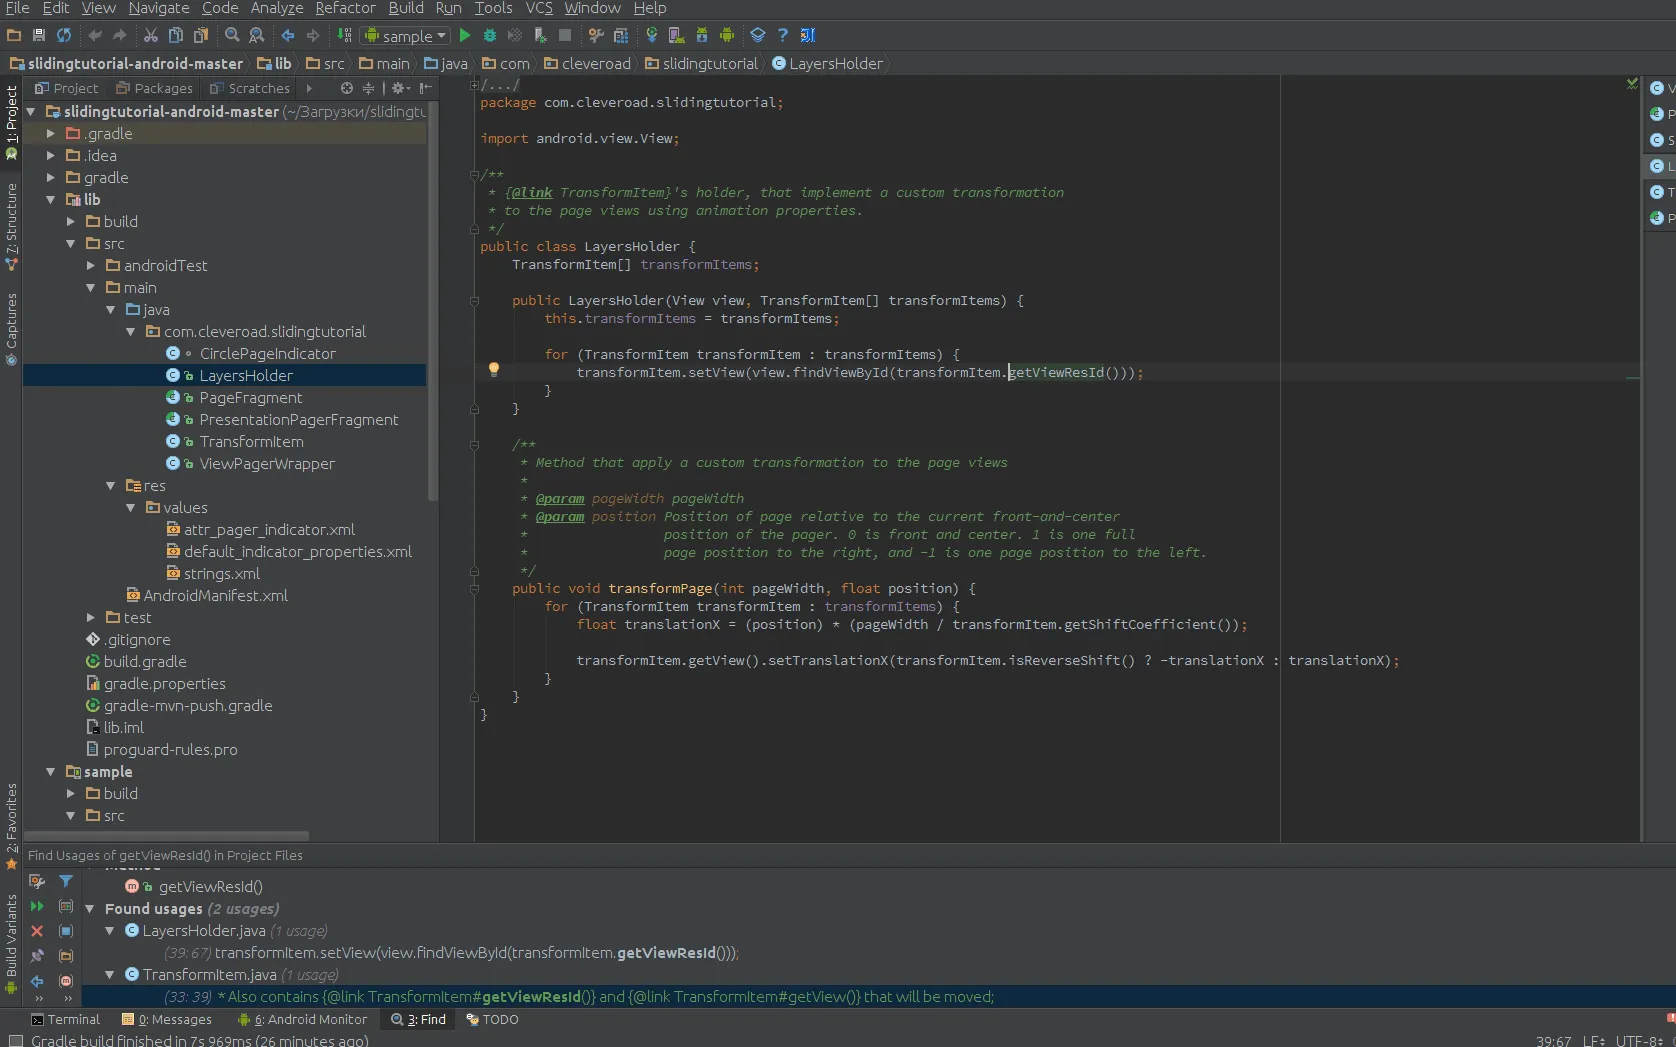
- LayersHolder. It includes an array of TransformItem and processes the transformPage event.
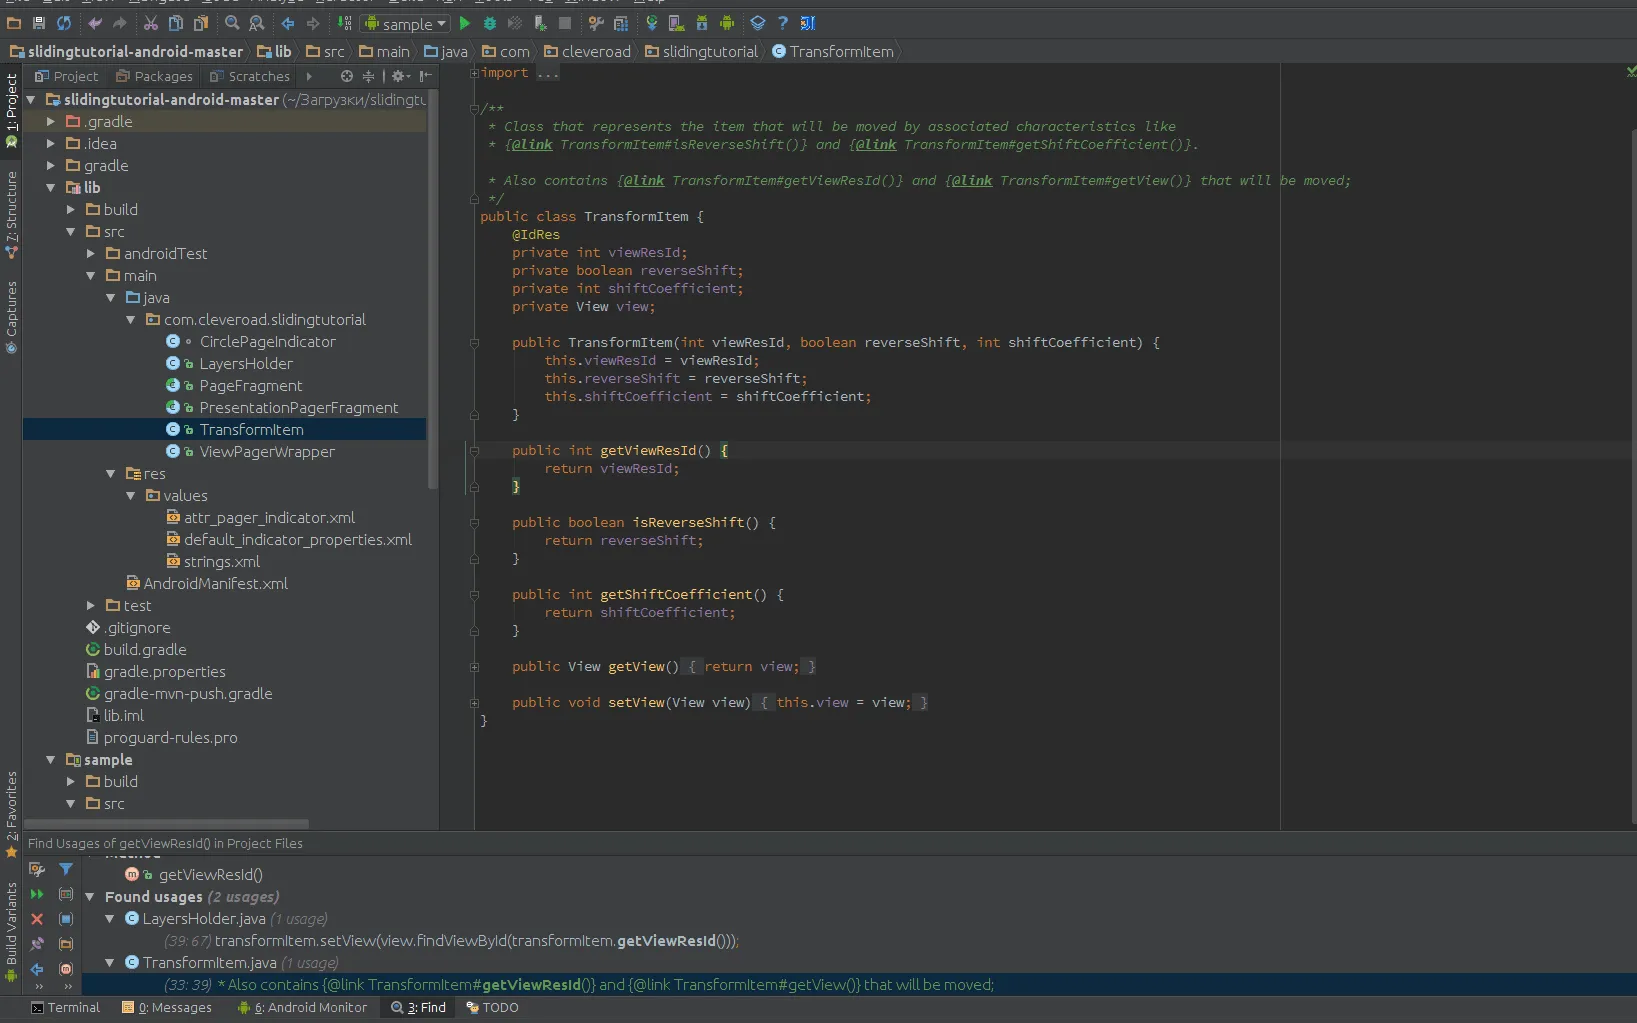
- TransformItem. It contains the "view" and parameters which determine the direction and the speed of the "view".
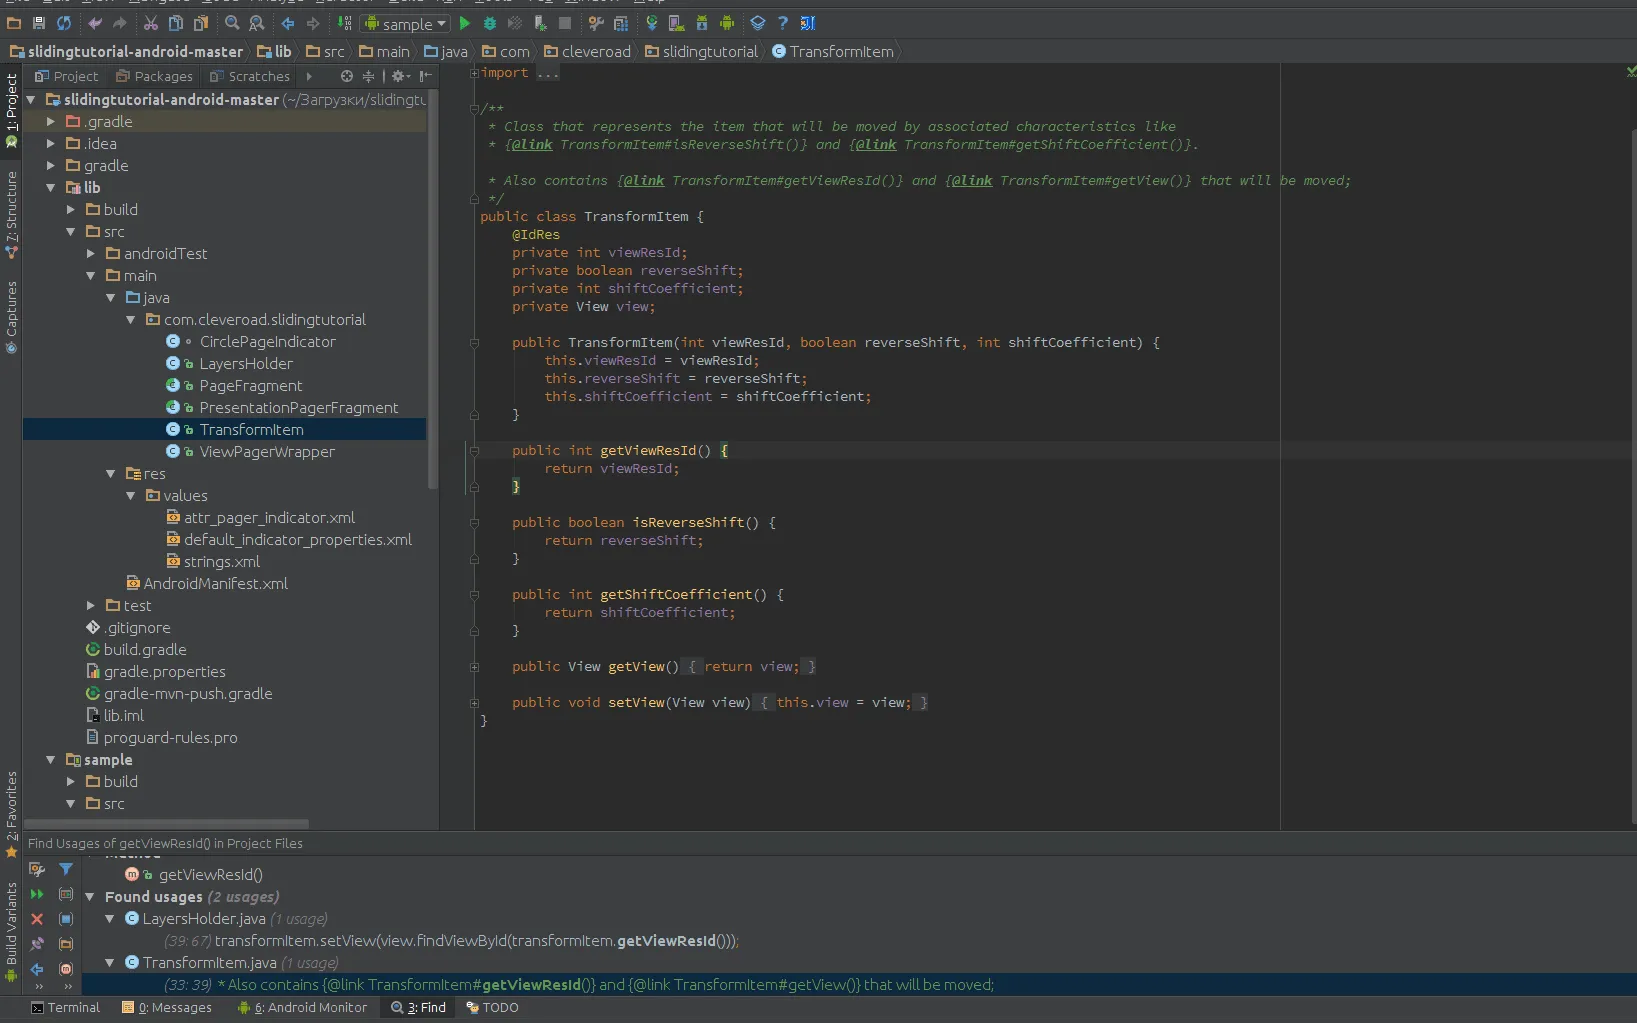
All corrections and changes in the project were made by "pull request". Most often, it is used by the team to check each other. Or, the request is sent to a team lead to check and approve changes made by his team. Approval is made before the changes are plumped into the repository and become available to others.
Here is what we received as a result:
How to implement the Sliding tutorial library in your project?
The library is open source. Thus, any developer can implement it in the project. It is quite easy to do it. It's enough to make a few simple steps:
- Create a background for screens of your tutorial.
- Create icons, which will be displayed on screens.
- Implement the Sliding tutorial library.
1st step
First of all, you have to add gradle dependency. To do that, use the command below.
dependencies {
        compile 'com.cleveroad:slidingtutorial:0.9'
}
2nd step
After adding gradle dependency, you have to create each fragment that must extend from PageFragment. Also, you have to create your XML file with images.
public class FirstCustomPageFragment extends PageFragment {

    @Override
    protected int getLayoutResId() {
        return R.layout.fragment_page_first;
    }

    @Override
    protected int getBackgroundColorResId() {
        return android.R.color.holo_orange_dark;
    }

    @Override
    public int getRootResId() {
        return R.id.rootFirstPage;
    }

    @Override
    protected TransformItem[] provideTransformItems() {
        return new TransformItem[]{
                new TransformItem(R.id.ivFirstImage, true, 20),
                new TransformItem(R.id.ivSecondImage, false, 6),
                new TransformItem(R.id.ivThirdImage, true, 8),
                new TransformItem(R.id.ivFourthImage, false, 10),
                new TransformItem(R.id.ivFifthImage, false, 3),
                new TransformItem(R.id.ivSixthImage, false, 9),
                new TransformItem(R.id.ivSeventhImage, false, 14),
                new TransformItem(R.id.ivEighthImage, false, 7)
        };
    }
}
3rd step
Then you should provide these fragments in the main sliding tutorial fragment.
public class CustomPresentationPagerFragment extends PresentationPagerFragment {

    @Override
    protected List<? extends PageFragment> getPageFragments() {
        List<PageFragment> pageFragments = new ArrayList<>();
        pageFragments.add(new FirstCustomPageFragment());
        pageFragments.add(new SecondCustomPageFragment());
        pageFragments.add(new ThirdCustomPageFragment());
        return pageFragments;
    }

    @Override
    public int getLayoutResId() {
        return R.layout.fragment_presentation;
    }

    @Override
    public int getViewPagerResId() {
        return R.id.viewPager;
    }

    @Override
    public int getIndicatorResId() {
        return R.id.indicator;
    }

    @Override
    public int getButtonSkipResId() {
        return R.id.tvSkip;
    }
}
Benefits of using Sliding tutorial for Android
1. Creating usable and eye-catching tutorials for your apps.
Check out our library on Github and see for yourself. If you need any help with that, get in touch with us.

Evgeniy Altynpara is a CTO and member of the Forbes Councils’ community of tech professionals. He is an expert in software development and technological entrepreneurship and has 10+years of experience in digital transformation consulting in Healthcare, FinTech, Supply Chain and Logistics
Give us your impressions about this article
Give us your impressions about this article