How To Submit An iOS App To The App Store: Important Steps To Avoid Rejections
Updated 01 May 2023
12 Min
4421 Views
Your iOS app is created and now it is time to let people use your new great software. However, did you know that according to Apple statistics, 62% of common app rejections occur due to the regular non-compliance with the main Apple guidelines? It should seem that the most complicated part (i.e. development) is far behind, but it is a common mistake. In fact, the publishing process is not so simple and it is a time-consuming as well. You need to know many important things to make your app published. The purpose of this article is to provide you with a full guide to your iOS app submission process.
Upon your app development completion, we implement necessary steps for the release. So, prepare to learn some useful tips.
Get your iOS app ready for publishing
For a start, you need to make sure that your app is ready for publishing. Apple has special instructions on it's website with the description of the publishing process, but it is not so detailed as people need. And when you do it applying to mobile application development services for the first time, the process can be stressful and even irritating in some cases, because it requires the experience and specific knowledge to publish app to Apple store.
See how to submit Android app to Google Play store. Read How to publish an Android app to Google Play store
Apple Developer Program
First, you need to register for Apple Developer Program (ADP) as a developer. Here you will be able to use additional Apple tools, see analytics of your app, perform beta testing and use other instruments that will allow you to create your iOS app. By the way, two years ago Apple changed it's policy and made it more loyal - now it doesn't matter whether you create an app for iOS or Mac, you just enroll as a developer and that's all.
Pay for the enrollment
But you will not be able to enroll without any expenses. Registration in Apple program is possible only on paid terms and you need to know how much does it cost to submit app to Apple store. So, if you are a private individual or you have a legal entity with one employee, then it will take $99 per year for you to enroll. If you have a development team, then membership will cost $299 per year. Then all your team of developers will be able to use one account.
Mind to make thorough testing of your app
If you created the app, it doesn't mean that everything is over, you should know how to release app to App Store wisely. Even if your coding process is well done, it doesn't mean your app has no bugs. Therefore, thorough testing will help you understand that functionality of your app is stable according to specs. No crashes and bugs should be detected.
In addition, there are many iOS devices, so, the more devices you use for testing, the better it will be for your app. You will see whether your app fits well on all screen sizes because you will not be able to see it in your iOS simulator.
And even if review team in Apple will not find any bugs in your app, it doesn't mean that your users will be pleased with everything. And their common opinion may lead to the absolute failure of your app.

Follow all necessary steps to prepare your app for submission
Don't ignore main rules!
Apple provides all developers with necessary guidelines and documents where you can find all important information regarding what your app should or shouldn't be and how to release iOS app. Unfortunately, some developers can ignore these rules and stop reading them on a first page. So, it is not a surprise that the app is rejected afterward.
However, we intended to write this article in order to rescue you from reading all documents. We will emphasize on the most important points you should keep in mind for your app to be published successfully:
- Custom ios app development services reuire your product to undergo crash test;
- The use of private APIs is impossible;
- It shouldn't be a clone of other pre-installed native apps in iPhone;
- It should have In-app purchase feature integrated;
- Camera or mic shouldn't be used without the user's permission;
- Your app should use only your own artwork or you should have permission for using the artwork of the third party.
The list is not large, but abiding by all these simple rules will let you publish iOS app without any barriers.
App ID
Any app requires an application identifier in App Store. Apple offers two types of app ID - explicit App ID and wildcard App ID. You can build and install many apps using wildcard ID. But if your app makes use of iCloud or some iOS features like push-notifications from Apple, then you need to assign explicit App ID. So choosing the right iOS App Store ID is very important.
Distribution certificate and provisioning profile
To make your app available for a specific type of devices and iOS version, you need to get a distribution certificate signed by Apple. To make it real, you create a certificate signing request and wait for it's approval by Apple. You should be signed in your Dev Program. Upon distribution certificate development, you should create a provisioning profile of your own that proves your identity and it also makes it possible for you and your team to use and test the app for iPhone and iPad.
Meet new Apple trends for 2018. Read Key Apple trends and the most useful ways to apply them
Code signing
Then, you need to perform code signing process. What is it? You need to configure build settings in Xcode and then pass a code signing. It is a security technology of macOS that is a kind of certification of your app, it means that the app is created by you. It can react to any changes made by you or third-party persons, and it sends you a notification. In case any malware intends to infect your app, you will know it immediately. On the whole, this process seems very difficult if you do it for the first time, but, after a while, you will get your hand in it if you follow Apple App Store guidelines.
Deployment target
We think it would be better not to ignore the deployment target of your app. It is also rather an important issue. When you create your project in Xcode, your app has a deployment target - it is the indication of the minimum OS version your app can be run on.
Everything is simple, but there is one crucial nuance you must consider: when you already completed to publish Apple app to App Store, you should change deployment target carefully. Because if you intend to increase deployment target in the new update when your app is already available for users, some of users will not be able to run your app because they installed it on the device with an older OS version. Consequently, you will lose part of your audience and get a lot of negative feedbacks.
Submit your app: follow App Store guidelines
Your app is going to be published. Undertake some steps to complete it!
Icon optimization
Your app is impossible without an icon, and you or your designer should create an attractive icon for your app. But! Keep in mind to make sure that the size of your icon meets the demands of Apple. The full requirement list of Apple regarding icon sizes you can find on their official website.
Screenshots of your app
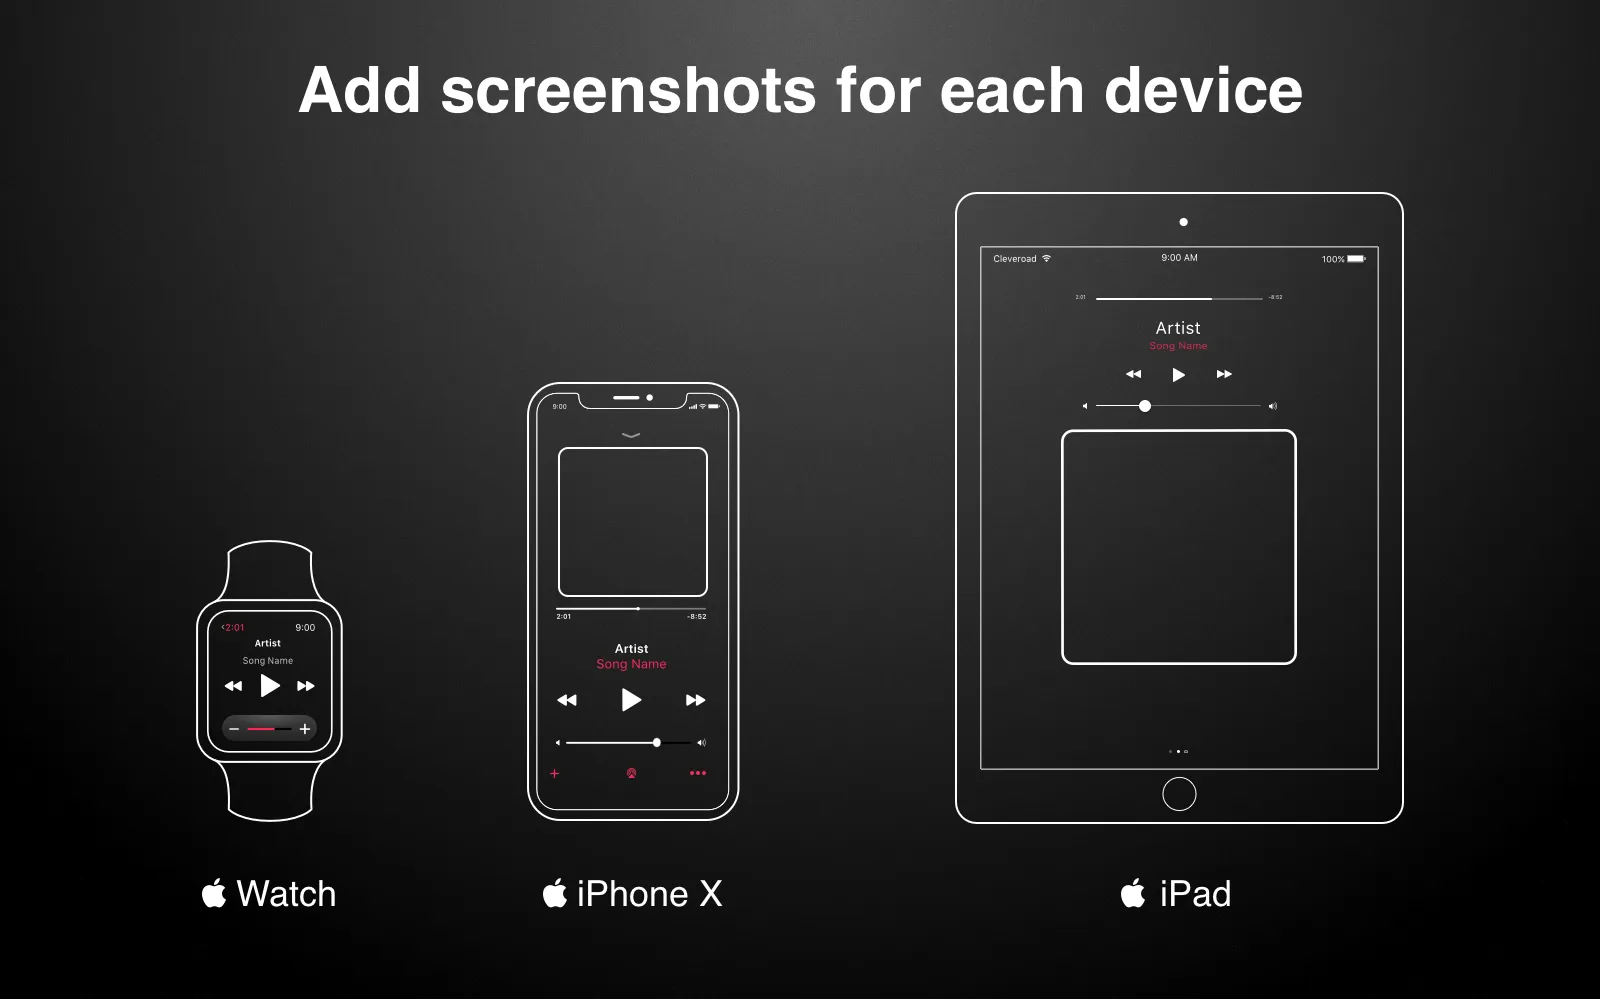
You should create up to 5 screenshots of your and at least one preview. If you create an app for a few devices, then you need to provide users with a screenshot for each device. It is a very important stage when you publish iOS app to Apple Store since your screenshot directly impacts on the final decision of the customer - whether he or she will use your app or not.

Make sure you have screenshots for each Apple device
Metadata
Your app should have a detailed description with all necessary data. The data should be the following:
- Add the name of your app;
- Add the number of version;
- Choose the category for your app;
- Give a detailed description;
- Add keywords.
In addition, if your app requires a sign in, then review team should use your test iOS App Store account to verify it quickly and not to waste time for signing up.
Also, give your app the rating it should have. The rating should meet the real content of your app. Otherwise, the app can be rejected by Apple review team if you don't follow rules on how to publish iOS app to App Store.
The start of submission
Having completed all the actions above, you should create your app in iTunes Connect. Here you will need to sign in using your Apple Developer account and fill the form to add the new app.
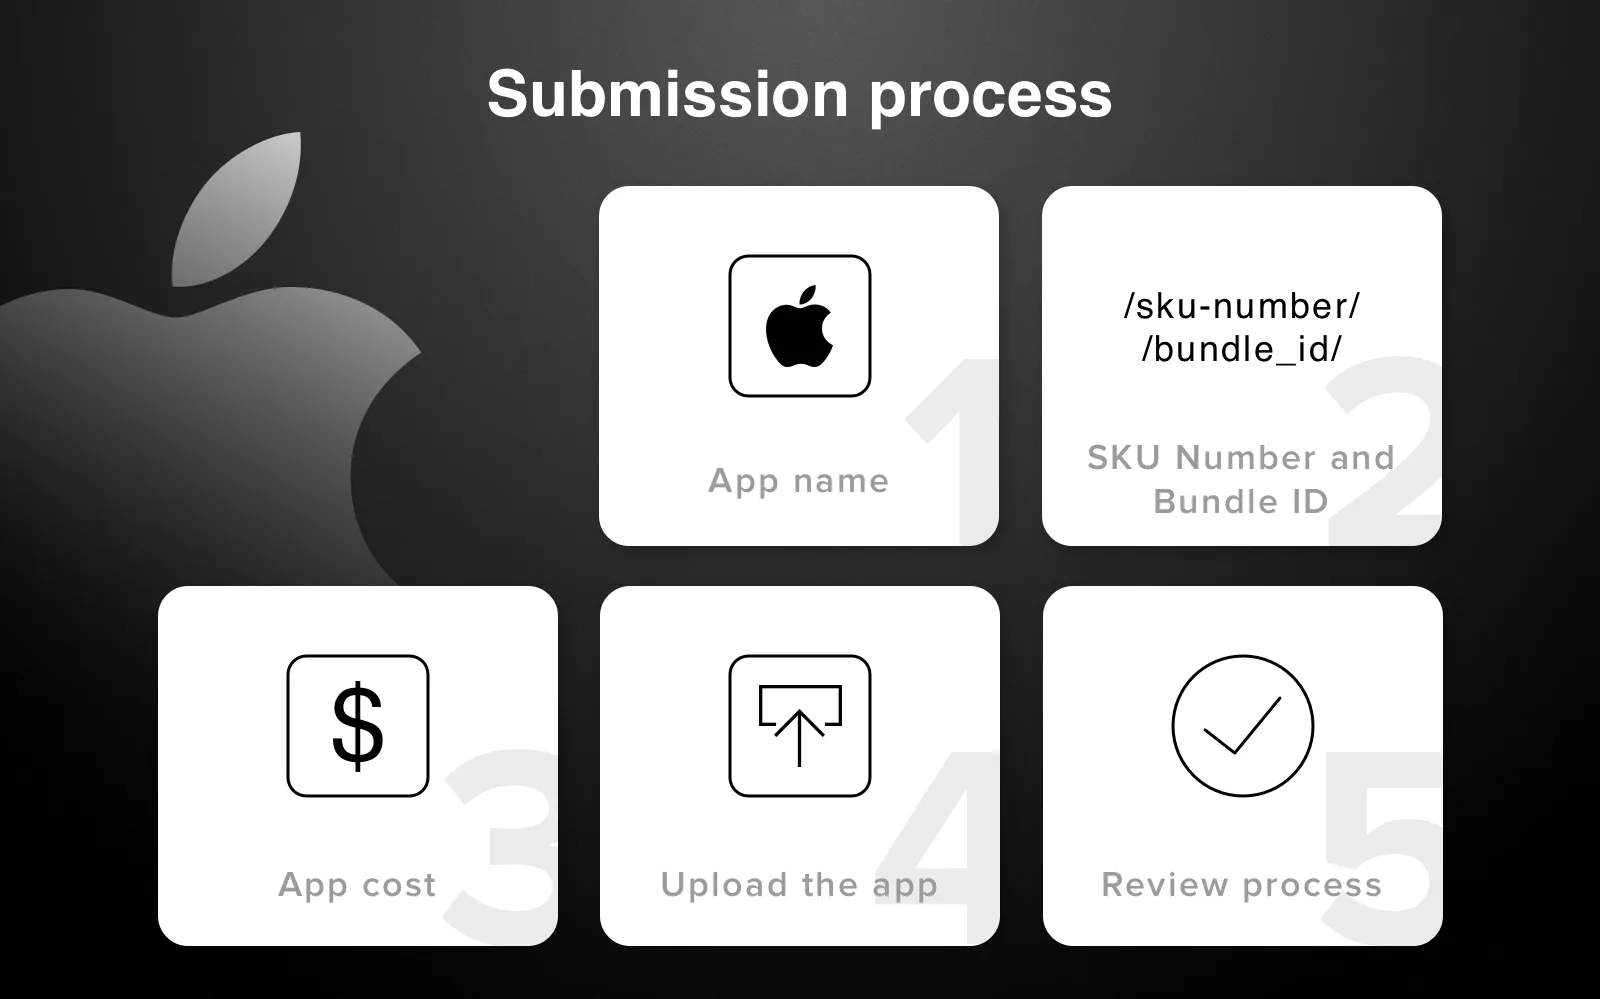
Add your app name
And it is highly recommended that the app name match the app name below app icon on home screen.
Add SKU number/Bundle ID
SKU number it is a type of code that makes it possible to identify your app in App Store. The developer can create this code by his own. As for Bundle ID, here you just need to select the App ID you chose for you (explicit or wildcard) in the menu. That's all.
Add the cost of your app
Simply assign your price and choose stores where your application will be (or won't be) available. But if you decide to change something in price or availability after a while, you can do it in iTunes Connect at any time, you don't need to create any updates.
Find out the cost of your future app. Read How much does it cost to make an app?
Do you want to know how much does it cost to develop the app in European countries? See our video to find out it:
The Cost of Software Development in Europe
App uploading
You start by creating an archive when you prepare iOS app release. The archive should be created using your iOS device that should be connected to Mac you use. Then you find your archive in Product menu in Xcode. In case everything was done according to instructions, Organizer in Xcode will open your archive. You select this archive and click on Upload To App Store button. Binary of the app is flying to servers of Apple. Here your app will be verified for validation, and if something is wrong - the failure in submission will occur. But it will help you fix all bugs before Apple review team starts verifying it.
Review process
After initial verification, you will see that your status changed to Waiting for Review. Usually, it takes up to 7 days to review the app. But thorough review process can guarantee that your app is really good and you will not fail.

Submit your app step by step
Why your app was rejected
In the end, let's summarize main reasons why your app can be rejected to be published. It will help you avoid common mistakes, make the app crowd-pleasing and complete submitting your app to the store successfully.
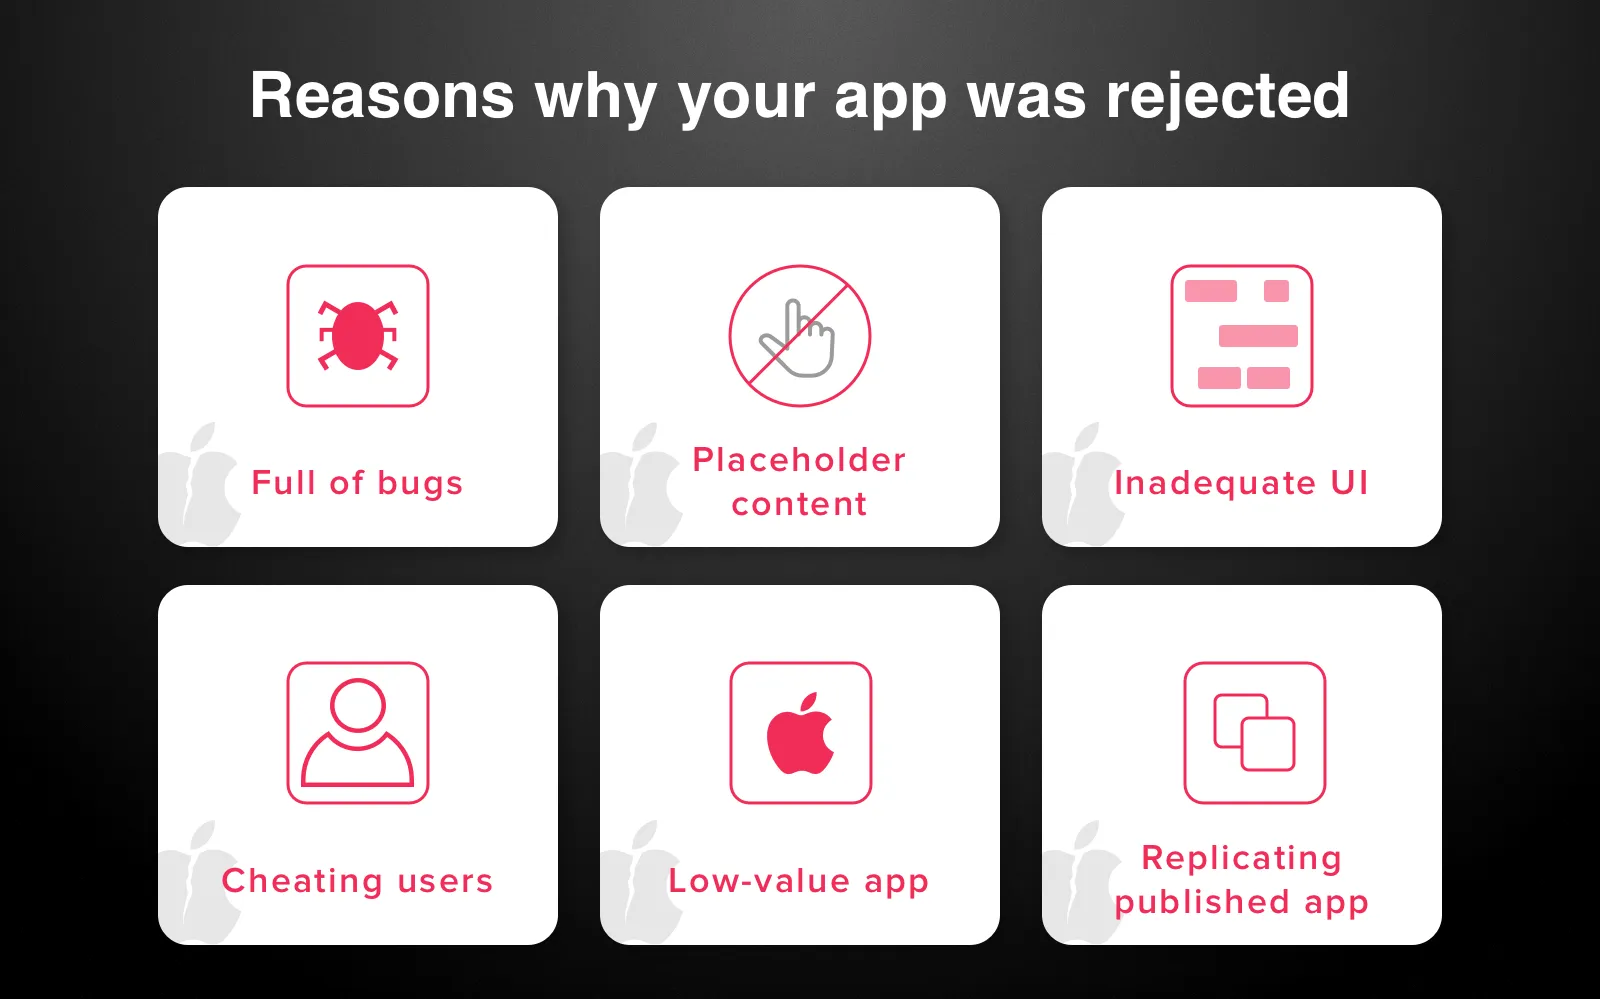
Bugs and failures
You should test your app thoroughly before you submit it for publishing. If it contains any bugs or sudden crashes, the review team will reject it implicitly. Also, your app shouldn't contain broken links.
The presence of placeholder content
It means that your app cannot have any blank UI object that doesn't bear any functionality. Mind to finalize your app completely before the submission.
Lack of information
When you are publishing iOS app to App Store, consider your app has all necessary information like the full description and all demo videos or pictures. If there are special configurations that need to be set, consider adding the specification. If you approach this issue wisely, everything will be completed successfully.
Inadequate UI
User Interface must be well-thought and user-friendly, so do it properly. Apple has strict requirements regarding new app UI, so make sure your software meets all these provisions when you publish iOS app step by step.

Mistakes you should avoid when submitting iOS app to the App Store
Cheating
Your app should contain what it declares and it cannot mislead users. If it doesn't contain something you indicated in the description, then be ready to revise your app and submit it again in a while.
Similar apps
For example, you created a few apps that you plan to publish to App Store. Make sure that your apps don't implement the same functionality and don't have the same features, otherwise all of them will be rejected. Also, if your app is a clone of the already published app, the rejection will be put as well. Apple will offer you to create one app combining all features from your several apps.
Low-value app
Even if everything is done according to requirements and there are no serious violations, your app can be rejected as well. The app should bring something new to the market of iOS apps, and if it contains mediocre UX, UI, or it is created for the limited target audience, your app is likely to be rejected.
And, also make sure your app has Advertising Identifier (IDFA) if you plan to add the advertisement to your app. And, after all, test IDFA for proper functionality since if the ad isn't displayed properly, the app will be rejected.
Discover tools we use to test to improve your iOS app. Read Top 5 iOS testing frameworks that really work
Well, that is all we wanted to share you with. You see that it is necessary to do a great job to publish your iOS app to App Store and make it interesting. But you can entrust this job to professionals - we can assist you in the app development and it's publishing to App Store. Our iOS developers have enough experience in this complicated process, so they are at your disposal. Just contact us and click on Subscribe button on the right side from you to receive our regular our newsletters.
If you are a private individual or you have a legal entity with one employee, then it will take $99 per year for you to enroll. If you have a development team, then membership will cost $299 per year.
First of all, you should prepare your iOS app for publishing. Apple has special instructions on it's website with the description of the publishing process.
There are several steps to follow:
- Icon optimization. The full requirement list of Apple regarding icon sizes you can find on their official website.
- Screenshots of your app for each devices.
- Metadata like app name, category, detailed description, and more.
- SKU Number and Bundle ID
- Upload the app
- Review process
Unless you’re tech guru, it’s better to ask an iOS developer to publish an app to the App Store.
Within 2-3 days, your app will either be approved or rejected.
- You make sure the app follows App Store guideline (and fix it, if it doesn't).
- Fill in meta data: title, description, keywords, screenshots, and preview videos you want to add.
- Submit the app to review.
- Wait for the reply. App Store team will check the app against the guidelines, make sure the app doesn't crash and work as expected.
- Within 2-3 days, your app will either be approved or rejected.

Evgeniy Altynpara is a CTO and member of the Forbes Councils’ community of tech professionals. He is an expert in software development and technological entrepreneurship and has 10+years of experience in digital transformation consulting in Healthcare, FinTech, Supply Chain and Logistics
Give us your impressions about this article
Give us your impressions about this article